


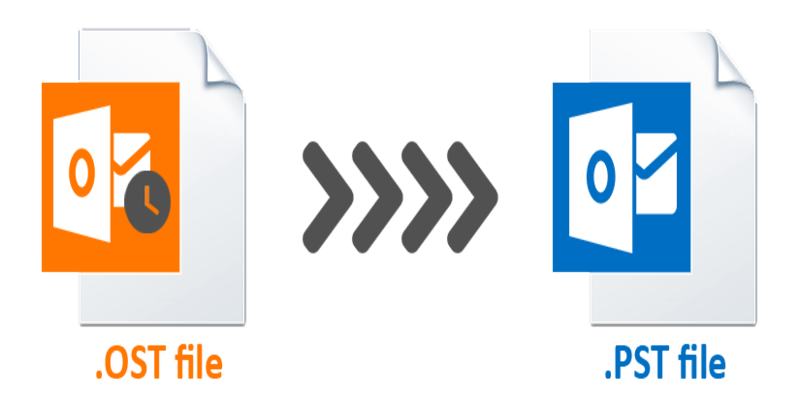
Microsoft’s Outlook is the most widely used email client. It’s also a personal information manager, so you may use it for more than simply email. In this post, we’ll go through how to use a specialized OST to PST converter to transfer and convert OST to PST file. We’ll walk you through the steps to get the task done swiftly and efficiently in this article.
Let’s start by defining what OST and PST files are.
- Microsoft Outlook uses an OST (Offline Storage Table) file to save a copy of your mailbox data on your local computer. If you need to access your mailbox data when offline or if your Exchange server is down, this is a good option.
- A PST (Personal Storage Table) file is a personal data file that stores email messages, contacts, tasks, and other objects in Microsoft Outlook.
- Let’s get started with the conversion procedure now that that’s out of the way. The first step will be to locate the OST file on your computer. If you’re not sure where it is, look at your account type’s default location:
- – To open an Exchange account, follow these steps: The document will be saved in the following directory: Usersusername>AppDataLocalMicrosoftOutlook>computer name>username
Method 1: Convert it to an Outlook PST File Manually.
There is, however, a way to convert OST to PST files that do not require the use of third-party software. The manual process entails manually exporting data from an OST file to a new PST file.
To do so, follow the instructions below:
- To begin, go to the File tab in Microsoft Outlook.
- After that, go to Open & Export and then Import/Export.
- Next, select Export from the drop-down menu and click Next.
- After selecting the Outlook Data File, press the Next button (.pst).
- After that, select the folder you wish to export and click Next.
- Select Include Subfolders from the drop-down menu, then click Finish.
- Click OK after giving the new PST file a name.
Method 2: Make use of the Archiving Technique
- To access the Options menu in Outlook, go to File and then Options.
- Select Advanced from the drop-down menu, then Auto Archive Setting.
- Choose the time frame for which you want to execute auto-archiving.
- Select the destination folder for the archived file, then select the archiving options and click “OK.” The mailbox items in your OST files will be stored in your PST file in accordance with the archiving settings.
- If you want to convert OST to PST files, you can use any of the two ways offered by Microsoft Outlook. After you’ve finished the procedure, you can open the new PST file in any Outlook application.
Manual Methods Have Drawbacks
- The approaches are difficult to utilize and necessitate technical expertise.
- It is not always effective and may not be able to successfully convert your OST file to PST.
- If the instructions are not followed correctly, your OST file may be corrupted.
Method 3: Professional OST to PST File Conversion
To convert Outlook OST to PST, this method uses a safe and dependable OST to PST Converter. When manually converting OST files to PST files, users may face data loss, which can also be caused by a high number of OST files. As a result, OST to PST Converter software has long been recommended by specialists.
This has developed a sophisticated tool that enables users to execute this task while maintaining high data integrity. The OST to PST Converter Tool offers a number of unique features that help it work better. Users can convert the first 25 emails using the sample version.
Conclusion
We hope that this article has provided you with step-by-step guidance on how to convert an OST file to a PST file in Outlook. Although it may appear difficult at first, the method is actually fairly straightforward once you get the feel of it. You should be able to convert OST to PST files in no time if you have a little patience and pay attention to detail.